Shipping containers were built to be loaded onto ships and to travel great distances. Corrugated Corten steel welded together with marine-grade welding, engineered to withstand being stacked nine containers high on an endlessly rocking ship deck for weeks on end. By most logical standards, they’re meant to be hard as heck.
They’re not invincible, though, and Mother Nature out here in Central Texas likes to give stuff a good test. Hellacious UV rays, 100°+/ humid mornings with dew collecting in every curve and crevice, and surprise afternoon storms of biblical proportion from the Texas Hill Country are the norm around these parts. If your container’s gonna spend its life sitting on your land, it’s gotta be ready for whatever Mother Nature throws its way.
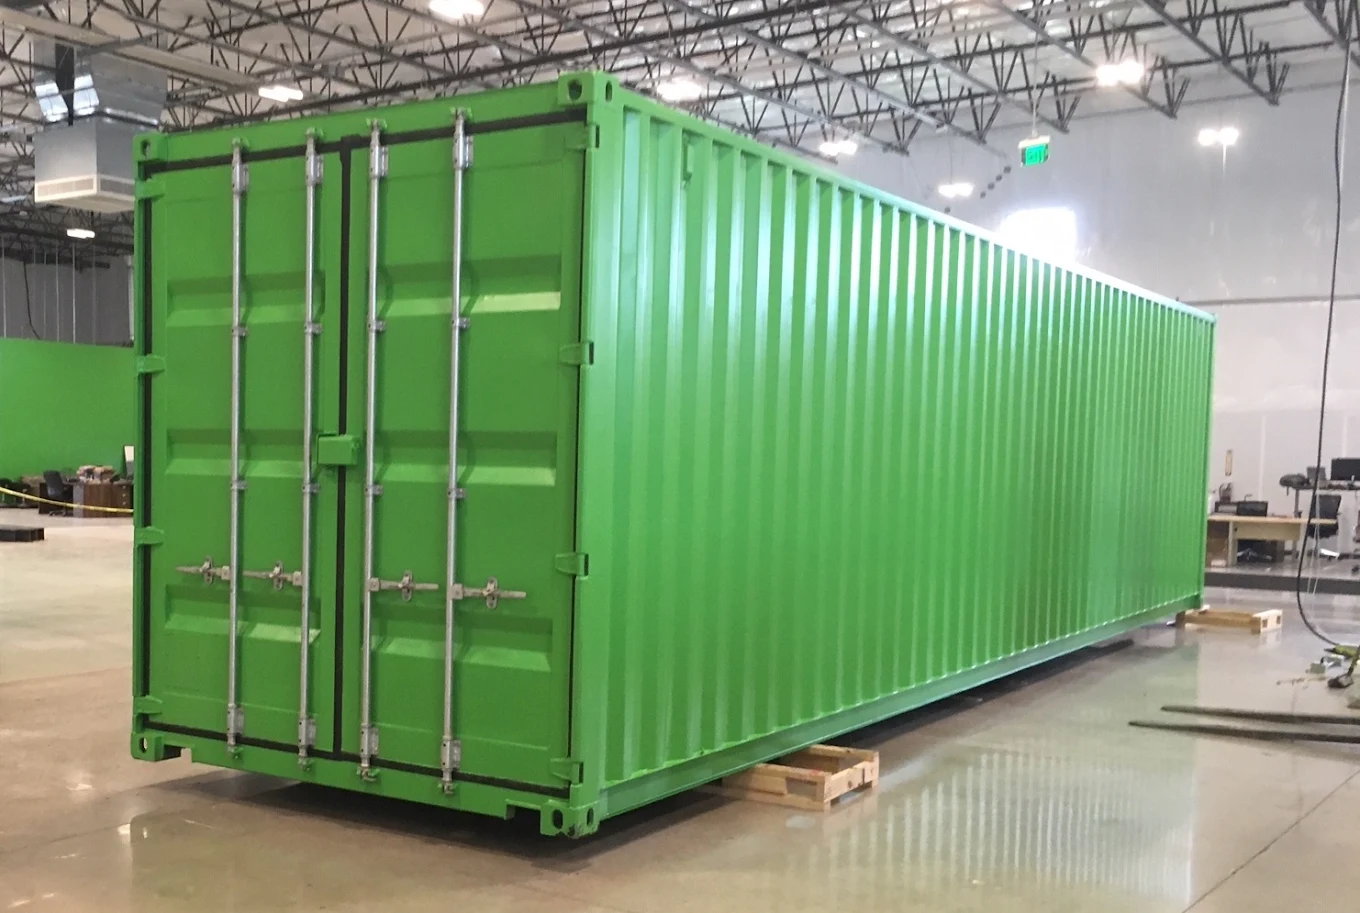
Your paint job is the first line of defense. Not only does it prevent rust from happening in the first place and keep the sun’s brutal heat from penetrating the steel, but it can add years onto the life of your steel shell. Not to mention it just makes your container look damn good sitting next to your house.
So how do you get that glass-like finish from start to finish? Whether you’re working on a small 20-footer that you need for extra storage out back, or a full-sized 40ft High Cube you’re converting into a workspace, we’re breaking down the steps to a professional paint job.
Phase 1: Prep Work
Let’s be honest. 80% of your finish is pre-paint-can-open dry, clean, and smooth. If it is not all 3, then your new paint job won’t make it through one Texas summer.
Step 1: Wash It Down
Whether you bought a one-trip box or an inexpensive used box, something has gotten on it during its journey to you – highway grime, dirt, industrial fallout, and salt if it spent any time on the water.
- Spray down the entire exterior with a pressure washer.
- Apply a heavy-duty degreaser or TSP(trisodium phosphate) solution to any grease spots or hard-set areas.
- Rinse thoroughly, then allow the container to dry completely. Thankfully, allowing “things to bake dry in the sun” is something Central Texas does really well.
Allow enough time to dry. Even if you are working on a container in the early am when it’s still foggy and dewy in San Marcos, or in the middle of the day when the sun is blazing down in Round Rock, you shouldn’t paint over a wet surface. Painting over a wet surface seals in moisture against the steel. Moisture + steel = Rust with a delayed expiration date.
Step 2: Deal With the Rust
New and one-trip containers will generally arrive in box form with factory paint. Used containers, on the other hand, well, that’s another matter. And that’s okay, that’s part of what makes them cheaper.
Let’s start by identifying what you’re dealing with:
- Surface rust – cosmetic, orange, rust that is sitting on top of the steel. Very common. Easily fixed.
- Structural rust – pitting, flaking, soft spots, or anything you can penetrate with a screwdriver. Rare on high-quality or one-trip containers. If you find it, patch it up correctly before you even consider painting.
Remove surface rust down to bare metal using a wire brush, drill-mounted wire wheel, or angle grinder for larger areas. Then apply a rust converter (phosphoric acid–based) to chemically convert the invisible rust you can’t remove. It’s cheap and works quietly behind the scenes to save you a repaint later.
Step 3: Fill Dents, Dings, and Deep Scratches
Containers are tools that have seen use. Used containers will have some battle scars. If you desire a pristine, consistent finish:
- Use a metal-grade epoxy putty or body filler on small holes and deep dents.
- Allow it to set, sand smooth, and flush with the rest of the panel.
Cosmetic marks are your choice to repair. If it’s damaged through the paint to bare metal, that is not recommended; it’s just asking for rust.
Phase 2: Priming
Skipping primer is by far the most common shortcut we see. And it’s the shortcut that trips people up about ten months after they get rolling.
Why does primer matter? Neither raw steel nor cured filler patches will retain topcoat paint very well on their own. Primer forms a consistent chemical bond between steel and paint, and it allows that bond to flex enough so it won’t rip itself off as the container panel expands through a 105° afternoon in Austin and contracts on a 38° January night. That process of expansion and contraction puts thousands of pulls on paint each year. It’s what strips paint off when it’s not primed.
Choosing a primer:
- Zinc-rich primer – This is what we consider the Cadillac of primers for steel. It actually provides cathodic (sacrificial) protection to the steel. Meaning the zinc will corrode first before your painted surface does. Go this route if you are painting a container that you intend to keep for 20+ years.
- Industrial alkyd primer – Less expensive, very common, and more than good enough for general storage purposes around a country property/job site.
Application tips:
Apply a single even coat, but take special care where rust begins:
- Weld seams
- Corner castings and door frames
- Depressed valleys of the corrugation where dew and rainwater pool
Give those spots another pass. That’s where a paint job succeeds or quietly dies.
Phase 3: Choosing the Right Paint for the Texas Climate
Not all exterior paint is suited to unpainted steel in direct sunlight 24/7. Here’s what you’ve got to work with:
| Paint Type | Pros | Cons | Best Used For |
| Acrylic Latex (water-based) | Easy cleanup, low VOCs, excellent UV resistance to fight Texas sun fading | Needs a high-quality primer to prevent rust bleed-through | Backyard storage, rural and farm sheds, residential properties |
| Industrial Alkyd Enamel | Affordable, forgiving to apply, and stays flexible through big temperature swings | Fades faster than acrylic under intense UV | Standard storage containers, job sites, ag, and ranch use |
| Polyurethane / Two-Part Epoxy | Extremely durable, chemical-resistant, essentially bulletproof | Expensive, strong fumes, unforgiving for first-timers | High-traffic commercial use, mobile offices, container conversions |
A Color Note for Texans
Dark colors get HOT. Leave a matte black 40-ft container out in an open field in Bastrop or on a construction site in Temple on a hot August afternoon, and you’ve just created a brand-new oven, and somehow everything you store in that box ends up roasting with you.
If you don’t plan on insulating the inside, pick a light gray, tan, sage green, or white. You’ll reflect a significant amount of heat in the summer and keep your interior much more livable. Insulate if you MUST use a dark color for cosmetic purposes, and many do love the look.
Phase 4: The Painting Process
Tools
- Airless paint sprayer – by far the fastest, most professional method. Corrugated steel has significantly more surface area than it appears to. A sprayer gets into the folds evenly without leaving behind roller texture. Rent one if you plan on painting an entire container.
- Rollers and brushes – best for touch-ups, door hardware, and confined areas. You can hand-paint an entire 40ft container if you want to, but you’ll spend your weekend doing it.
Timing It Around Texas Weather
This matters more here than it does most places.
- Don’t paint in the direct blazing sun. In Austin/San Antonio, from mid-May to September, if you start painting around mid-afternoon, the paint will dry faster than it can level out and stick to the surface, resulting in a weak film that doesn’t go on evenly. Start in the early morning or wait for an overcast day.
- Try to shoot for temperatures between 50° and 85°F with not-too-high humidity.
- Pay attention to the weather report. An unexpected Hill Country rainstorm rolling through on a newly painted surface will ruin your day.
Two Thin Coats, Never One Thick Coat
Don’t goop it on. Two thin, uniform coats will always last longer than one thick coat, trust us. The thick coat runs, sags, cures unevenly, and remains soft below the surface. Observe the recoat window recommended by the manufacturer and allow the last coat to fully cure before stacking paint cans on it or leaning furniture against it.
The Short Version
- Body prep is 100% of the battle. Clean, de-oxide, patch, dry. Dry again.
- Never skimp on primer. That’s your glue that keeps paint stuck during Texas thermo cycles.
- Choose UV-resistant paint and, if possible, a lighter color.
- Two light coats in the shade.
One Maintenance Tip To Remember
Walk around the container once a year and inspect it. Find scratches, chips, and small rust spots early, and spot-prime and touch with paint. Ten minutes annually is the difference between a container that looks good for 20 years and one that requires a strip-and-repaint.
Thinking about Building with Containers?
All great custom containers start with a great box. Steel Box Containers provides new one-trip and used 20ft, 40ft, and High Cube shipping containers quickly and inexpensively all over Central Texas. From Austin to San Antonio to Round Rock to Bastrop to San Marcos to Temple and anywhere in between along the I-35 corridor.
Whether you want to build a shop, mobile office, ranch storage, or build something we haven’t thought of yet, we will help you select the perfect container to begin your project.
Give us a call today and let’s get building.